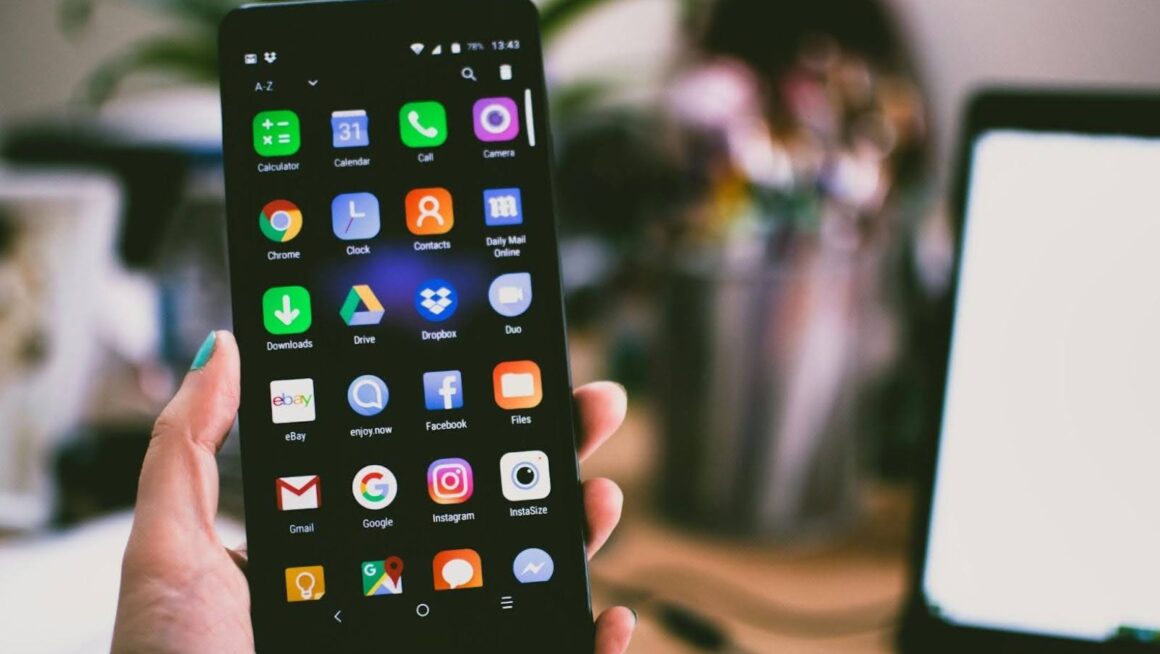
To download on phonedeck b4a, the developer first confirms system compatibility and permissions. The developer then gets the PhoneDeck installer and the required B4A bridge files. This guide lists what PhoneDeck does and what files and settings the developer needs. Each step shows clear actions the developer follows to install, link, and test PhoneDeck with B4A.
Key Takeaways
- Downloading PhoneDeck for B4A requires confirming system compatibility, obtaining the PhoneDeck installer, and preparing the B4A Bridge and SDK files.
- PhoneDeck enhances B4A development by mirroring Android screens, enabling input from the desktop, and supporting multiple devices for faster testing and debugging.
- To install and configure PhoneDeck with B4A, the developer follows a step-by-step process including downloading, granting permissions, connecting devices, and verifying input synchronization.
- Troubleshooting PhoneDeck involves restarting ADB, checking cables and permissions, adjusting settings for touch input lag, and resolving ADB port conflicts.
- Developers can run PhoneDeck and B4A on separate machines via networked ADB to enable remote debugging while maintaining secure connections.
- Keeping PhoneDeck and B4A updated ensures reliable performance and avoids compatibility problems during app development.
What PhoneDeck Does And Why It Helps B4A Developers
PhoneDeck lets a developer mirror Android device screens to a desktop. It also sends touch and keyboard input from the desktop to the device. PhoneDeck speeds up app testing for developers who use B4A. It removes the need for constant USB handling and keeps the device visible during debugging. The developer can record screen sessions and capture logs while using B4A. PhoneDeck supports multiple devices on one desktop. The developer can switch devices with a click and continue testing. PhoneDeck works with the ADB bridge that B4A uses. The developer installs the ADB bridge once and then connects PhoneDeck to the same ADB instance. This approach reduces port conflicts and speeds up deployment. Many developers report faster iteration times when they use PhoneDeck with B4A. They say they find UI bugs faster and they reduce repetitive device actions. PhoneDeck also helps teams who share a test device. One person runs the test and another inspects logs and interactions remotely. The developer saves time by avoiding repeated build-and-install cycles when using PhoneDeck for quick checks.
Prerequisites: Files, Devices, And Permissions You Need Before Downloading
The developer confirms the desktop meets system requirements for PhoneDeck. They ensure the desktop runs a supported OS and has a recent ADB tool. The developer prepares the Android device. They enable Developer Options and USB debugging on the device. The developer confirms a stable USB cable or a reliable Wi‑Fi network for wireless ADB. The developer downloads the PhoneDeck installer file from the official source. They also keep the B4A Bridge and B4A SDK files ready. The developer grants OS permissions for screen capture on the desktop when PhoneDeck requests them. The developer grants the device permission to allow USB debugging when the ADB prompt appears. The developer checks that no other software holds the ADB port. If another ADB instance runs, the developer closes it before they start PhoneDeck. The developer installs Java if B4A or the bridge requires it. The developer also updates the device Android version if PhoneDeck lists a minimum API level. The developer saves their work and closes active development tools to avoid file locks. The developer keeps one note: save the B4A project path and the build output path. That step helps when they test deployments from B4A to the device through PhoneDeck.
Download, Install, Configure, And Troubleshoot PhoneDeck With B4A
Download: The developer opens the official PhoneDeck page. They click the download link for their OS. They save the installer to a known folder. They verify the file hash if the site provides one. They also download the B4A Bridge and ensure the B4A IDE is ready.
Install: The developer runs the PhoneDeck installer. They follow the installer prompts and accept required permissions. They grant screen capture permission on macOS or Windows when prompted. They install the B4A Bridge or confirm B4A sees the ADB tool.
Configure: The developer connects the Android device by USB or by enabling wireless ADB. They start PhoneDeck and they select the device from the list. They open B4A and they select the same ADB instance if B4A prompts for a path. They set the B4A build configuration to deploy to the chosen device. They verify that PhoneDeck shows the device screen and that touch input from the desktop maps to the device.
Test: The developer builds a small B4A test app and they install it on the device. They watch the device screen in PhoneDeck while they interact with the app from the desktop. They confirm logs appear in B4A and they confirm that input and display are in sync.
Troubleshoot: If PhoneDeck does not detect the device, the developer restarts ADB with the command adb kill-server and adb start-server. If the device does not show on the desktop, the developer checks the USB cable and the device USB mode. If the developer sees permission errors, they reinstall the device drivers or update the desktop OS permissions. If touch input lags, the developer lowers the screen resolution in PhoneDeck settings. If multiple ADB instances conflict, the developer closes other tools that launch ADB and restarts PhoneDeck and B4A.
Advanced tip: The developer can run PhoneDeck and B4A on separate machines if they expose ADB over the network. They must secure the network and they must authorize the device for remote ADB access. They then connect B4A to the remote ADB and select the PhoneDeck-shared device for builds.
The developer repeats tests until PhoneDeck runs reliably with B4A. They keep the PhoneDeck and B4A tools updated to the latest stable versions to avoid compatibility issues.